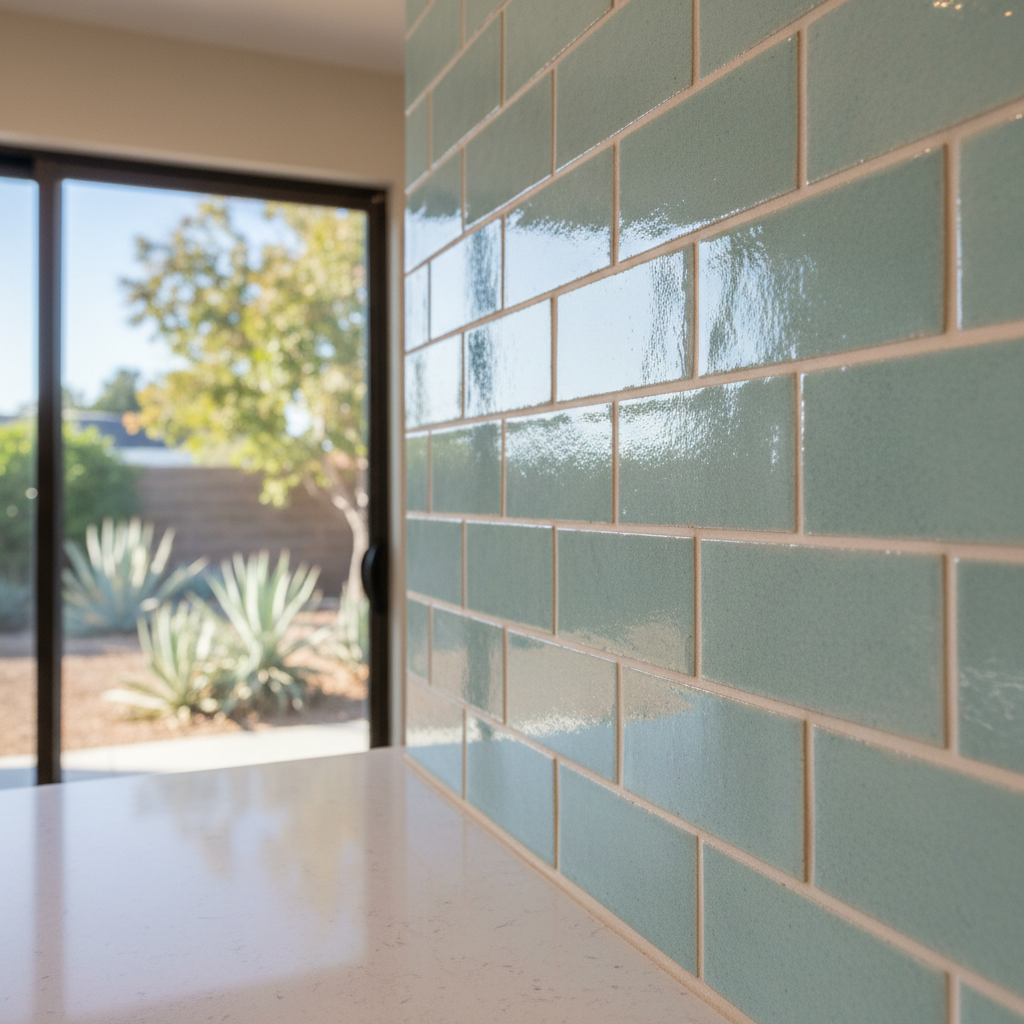
So, you're thinking about a new backsplash for your kitchen. Maybe that old tile is just driving you crazy, or you just got new countertops and now the wall looks a little… lonely. A backsplash isn't just about looking good, you know. It actually keeps your walls safe from splashes, grease, and all the cooking chaos that happens around the stove and sink. It's a pretty important part of how your kitchen works and how it feels.
Now, a lot of folks here in Fullerton figure a backsplash is an easy weekend job. And sometimes, for really simple stuff, it can be. But let me tell you, I've seen enough DIY backsplashes go wrong to know it's not always as simple as those home improvement shows make it seem. Let's talk about what you really need to know before, during, and after you decide to take this project on.
Before You Start: Plan, Plan, Plan
First things first: what kind of tile are you even looking at? This isn't just about the color and pattern, by the way. Different materials need different ways of putting them up, and different tools too. Ceramic and porcelain are pretty forgiving if you're just starting out. Glass tile? A bit trickier to cut cleanly without chipping. Natural stone, like travertine or marble, needs sealing both before and after you grout it, plus it can be heavy. Mosaics on a mesh backing might look easy, but getting them perfectly level and spaced out is harder than you'd think.
You'll need to measure your space carefully. Don't just measure once; measure twice, maybe even three times. And don't forget about your outlets and switches. You'll have to take those cover plates off and might even need to pull the electrical boxes out a bit if your new tile is thicker than what's on the wall now. This is where a lot of people run into trouble. If you're not comfortable with basic electrical work — even just safely taking out and putting back outlets — that's a pretty clear sign you might want to call a pro.
Next up, wall prep. This is HUGE. Your wall absolutely has to be clean, dry, and flat. If you're tiling over old drywall that's got some texture or damage, you might need to skim coat it smooth. If you're ripping out old tile, you'll probably have some drywall to fix. Any bumps or dips will show right through your new tile, making your finished work look, well, not so great. I've seen kitchens in older Fullerton homes, especially closer to the beach, where moisture has made the drywall a bit wavy. You really need a perfectly flat surface.
Tools. You'll definitely need a tile cutter (a wet saw for anything but the smallest, softest tiles), a trowel with the right notch size for your tile, a rubber float for grout, sponges, buckets, and safety gear. You can rent a wet saw, sure, but they can be a bit scary if you've never used one. For glass tile, you might even need a special kind of blade.
During the Install: Take Your Time, Be Precise, Solve Problems
Okay, so you've got your materials, your wall is ready, and your tools are all lined up. Now for the actual tiling. The best piece of advice I can give you here is simple: don't rush. Lay out your first row without any adhesive to see how it fits. You really want to avoid tiny little slivers of tile at the ends if you can; it just looks better to have bigger, more balanced cuts.
Mixing thinset is super important. Follow the directions on the package exactly. Too wet, and your tiles will slide right down. Too dry, and they won't stick properly. Spread it evenly with your notched trowel. Don't just glob it on; you're aiming for full coverage on the back of the tile, which helps stop future cracking. Use spacers to keep your grout lines even. This is where a lot of DIY jobs go wrong – uneven grout lines are a dead giveaway, aren't they?
Cutting around outlets and switches is probably the trickiest bit for someone new to this. You'll need to make really precise cuts, often L-shapes or squares, which can be tough with a wet saw. If you're using a bunch of tiny mosaic pieces, you might get away with nippers, but bigger tiles demand more exact cuts. This is where a pro truly earns their keep; they can make these cuts look like they were never there.
Grouting is the last step, and it can either make or break the whole look. Again, read the instructions for mixing. Apply it with a rubber float, pushing it deep into all the joints. Then, wipe off the extra with a damp sponge, rinsing it often. Don't let it dry too much before wiping, or you'll be scraping off haze for days. For spots like behind the stove, you'll want to use an epoxy grout or one that resists stains – those grease splatters are no joke.
After the Project: Sealing and Keeping it Clean
Once your grout has had time to cure (usually 24-48 hours, but always check the product), you'll need to seal it, especially if you used a standard cement-based grout. This keeps it safe from stains and moisture. Natural stone tiles need sealing too, often before and after grouting. This is easy enough to do yourself with a brush or roller and a good quality sealer. Just make sure the area is clean and dry first.
Keeping it clean is pretty straightforward: wipe it down regularly. Use cleaners that aren't abrasive. Stay away from harsh chemicals that can mess up your grout or sealer. If you sealed your grout, plan on re-sealing it every year or two, depending on how much action your kitchen sees. It's a small step, but it really helps keep your backsplash looking great.
When to Call a Pro
So, when should you just pick up the phone instead of a trowel? If you're dealing with a really bumpy wall, super intricate tile patterns, expensive or delicate tile materials like thin glass or big porcelain slabs, or if you just don't have the time or patience for careful work, call a professional. If your layout is complex with tons of cuts, or if you're taking your backsplash all the way up to the ceiling, that's definitely a job for the pros.
A good contractor, like us at Absolute Kitchen Remodelers, has the right tools, the experience, and the keen eye for detail to make sure your backsplash looks perfect. We've seen all the weird stuff that comes with older homes in places like the Sunny Hills area, from plaster walls to unique layouts, and we know how to handle it. Sometimes, trying to save a few bucks on DIY isn't worth the headache, or the chance that you won't truly be happy with the finished product. Your kitchen is a big investment; make sure every part of it shines.